As in attach the claw to the gun.
Right off the bat, I realized I made a procedure error. I had built the gun and claw separately. What should have been done is creating the gun and building the claw off of that base for a fluid integration. Well, there's nothing I can do about that now so I proceeded forward. The pieces to be connected was the Rod Clevis of the Pneumatic cylinder to the Vex Metal Chassis. Basically, attach this

to this


I made the connecting piece out of foam board because I did not have anything else and was running out of time. I then used hot glue and wrapped duct tape to secure the hold. One thing I did not put into account was the swivel of the claw attached to the cylinder. The weight of the claw ended up turning the claw this way and that and I had to figure out a way to secure the claw better and something that would not impede the linear movement of the pneumatic cylinder.
The answer was server rack slides. This would allow the claw to stay stable and be able to move along with the linear movement.

I was lucky enough to be able to retrieve one from a pile of mostly electronic junk that a company was throwing away. I measured the needed length, cut it with a borrowed hacksaw and attached it to Crescent Rose with hot glue and duct tape. Below, you can see the attached slider.
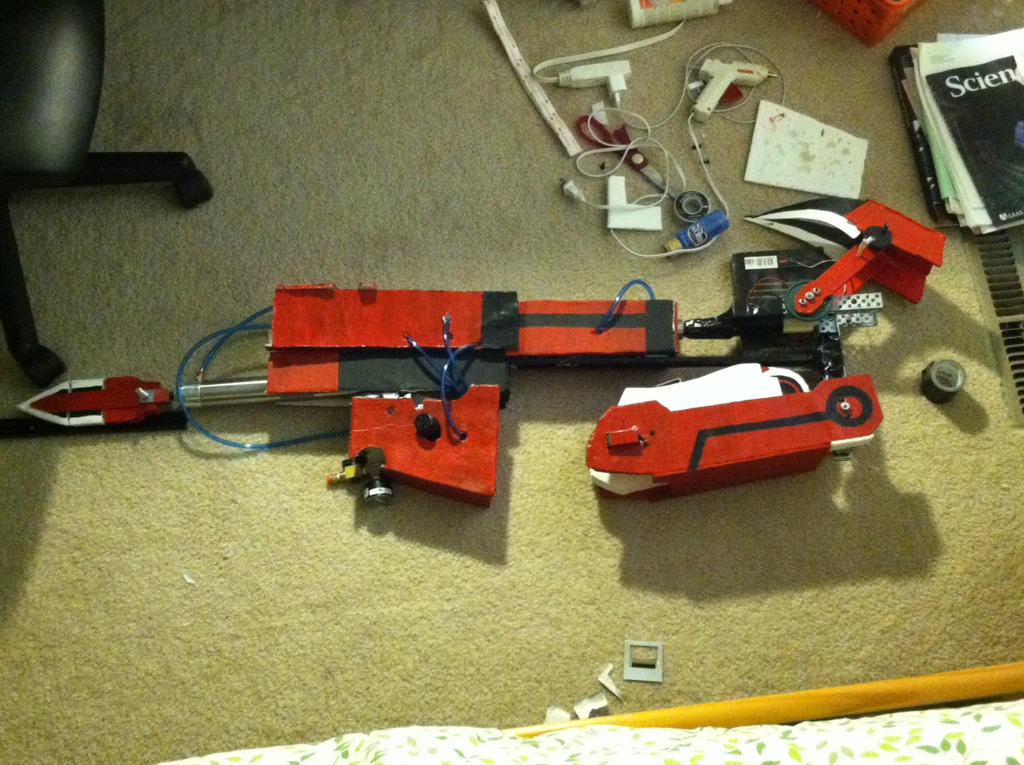
With that solved, the last thing to do was attach the micro controller and voltage source to Crescent Rose. Unfortunately, there wasn't any space left in the magazine clip part of the gun so I had to mount it on top of the gun outside. Due to time limits, the wires were also hastily tossed on top. Final result is below.

With everything looking good, I gave it a test run.
Works well but we'll see how it deals with a full day of use at Otakon 2015.
Otakon 2015 Result Post
No comments:
Post a Comment