Thursday, December 24, 2015

Myrtenaster Prototype Build Write Up Part 4: Finishing

Prettify time!

Main paints used were silver and black colors. These paints already had a sealer mixed in so I wouldn't have to repaint over the colors to create a shiny look.


But, I couldn't start painting until I finished the handle so I made one out of toilet paper cardboard tubes.


The toilet paper tube was only long enough to hold the bike inflator. So I extended it by attaching another toilet paper tube to it.


The batteries ended up being too long for the tube,


so I made a cap out of foam board and stiff felt. It fits.


Commence paint!


Painted strips of white craft foam silver then glued to the tube in spiral. Also wrapped the stiff felt in white craft foam then painted it silver.


Handle done. Now to paint the prop. Gave it a whole coat of silver.


Then the black fancy patterns were hand painted on. This was done by sketching the patterns from Tatsutetsu prints with pencil then painting over the sketches with black paint.

This gets tiring after the 3rd time.
 Once the fin patterns were done, the cylinder markings were done and the inside components were painted silver.

In progress painting.

Final prop lies below.


Lights! Pictures were taken with flash.


Size comparison with Crescent Rose


Video of complete prop with all of it's features.


Wednesday, December 23, 2015

Myrtenaster Prototype Build Write Up Part 3: Electronics

Now to try to add the cylinder effect.

Figured out how to do the spinning cylinder effect. Use a motor! Specifically, this motor below.

A Vex 2-wire Motor 393

Unfortunately, to add it to the prop, it means disassembling the prop.

Oh well...
The Vex motor also comes with smaller gears to change the gearing of the motor to be more speed oriented. One of smaller gear packets cones with a square shaft extender part. This was hot glued into the center of the cylinder in order to allow the prop to be taken apart and still spin.


Then the motor was mounted by cutting a space into the cardboard section of the handle to fit it and hot glueing it.


Now lights time!

Below is the circuit I will be putting on Myrtenaster.


I bought these RGB LEDs


Soldered all 20 in parallel with each other.

Ugh never again...

Close up on the array. Added hot glue to solidify the array.


Stuffed it into the blade and tested it. Got red, blue, green, and cyan. All of the red combinations, besides red itself, didn't work.


Upon closer inspection of the circuit, red doesn't turn on because it requires lower voltage to turn on, taking all of the juice and not letting the blue or green lines to light up. Options now are to buy a pot (potentiometer) or apply a regulator to each line after the switch.

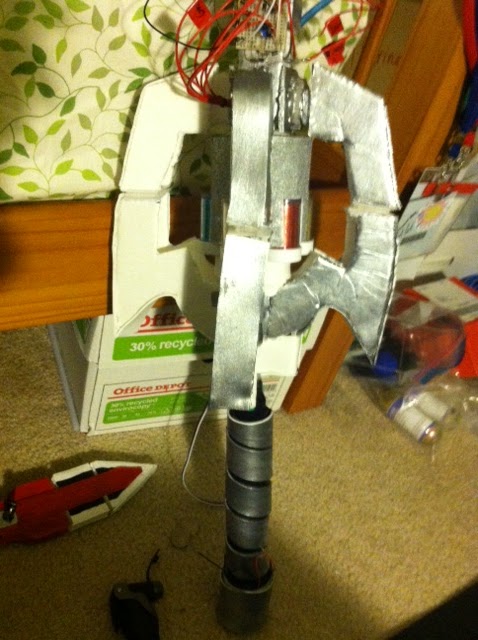
As I waited for the new parts to ship, I got to attaching the blade to the prop. Like so.


I also soldered the wires to the 1-pole 12 position switch to get it ready to mount to the prop.


Mounted it to the prop with a fitted pvc fitting and hotglue.


 Also finished up putting the rest of the fins in.


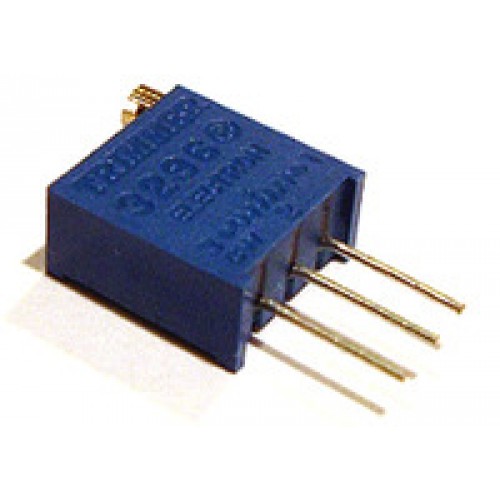
I got a pot (potentiometer) in my parts package. Something like this guy below.


Shown below is the new schematic with the pot.


The above schematic was put on a breadboard and mounted on the prop. The pot was then adjusted with a screwdriver while attached to the red line. Indeed it was a voltage problem, at the right adjustment, purple and all other colors came up as expected.

The connections were then attached to the 12 position switch and tested. What ended up happening was that the powered lines of the switch ended up traveling through the other nodes of the circuit, resulting in the blue position coming up as cyan if a cyan connection was made. Voltage needed to be stopped at certain nodes in order for the all of the colors to show up properly.

To solve this problem, rectifier diodes were used. Something shown below.


Basically, rectifier diodes only allow voltage to go through them in one direction. This is perfect for this circuit as it allows voltage to reach the right color lines of the RGB LEDs but does not spread to the other lines.

Circuit schematic with the diodes.


Final circuit breadboard on the prop.


Here are all of the colors activated through the 12 position switch. Photos where taken with a fan ceiling light as background lighting.

Blue

White
Red
Purple/Violet


Yellow. It's much more yellow in real life.


Green. It's actually greener than this in real life.


Cyan


Phew!

Things left to do:
-solder electronics
-mount electronics
-put together pneumatics
-mount pneumatics
-create handle(handle not complete)
-attach handle
-prettify

part4


Sunday, November 29, 2015

Myrtenaster Prototype Build Write Up Part 2: Pneumatics


Time to start the handle and add the pneumatics.

I bought a bike tire inflator (Genuine Innovations Ultraflate Plus CO2 Inflator) to provide a quick burst of air. Unlike Crescent Rose, Myrtenaster doesn't require much air, just enough to shoot out some glitter.

Image from: https://www.biketiresdirect.com/productimages/images450/gigup1-1.jpg
In order to shoot air, it needs these CO2 cartridges.

Image from: http://www.sandefjordpaintball.no/images/16117-2.jpg


The only place to store the inflator is in the handle. The batteries for the lights will also go there but that will be when I have the RGB LED circuit up and running properly. But first, the cylinder full of glitter has to be able to attach and detach from the handle. Twist some craft foam into the center to hold a rod of some sort.


Had an old LED flashlight lying around. Took it apart.


The flashlight cone piece works perfectly for the handle. I'll paint it later. It even fits one of the Vex gears I had lying around!


Fits nicely.


Glued the cone piece on the gear, cut a piece of cardboard paper roll tube, attached the bike inflator and the rest of the side guards to the cardboard piece.


Now to add the parts for the pneumatic system.


 1/4" ID NPT clear tubing, 1/8" ID NTP clear tubing, brass tee fitting 1/8" NTP, Campbell Hausfield 1/8" NPT Tank valve, KQ2H07-35S, and KQ2H07-34S. Attach them to the tee fitting by applying teflon tape to the threads of the pieces and screwing them together. Like so.


Not pictured was attaching the blue tubing and the respective KQ2H07-35S part. The other wing guard of Myrtenaster was fitted on to open and close. Fins were fitted to spin the cylinder manually, no space for a motor powerful enough to spin it. Would have been heavy too.


Open and closing of the wing guards are made by use of velcro.


 Ran a test shooting of the system.


Works as intended. 

Things left to do:
-solder electronics
-mount electronics
-put together pneumatics
-mount pneumatics
-create handle(handle not complete)
-attach handle
-prettify


part3