Time to start the handle and add the pneumatics.
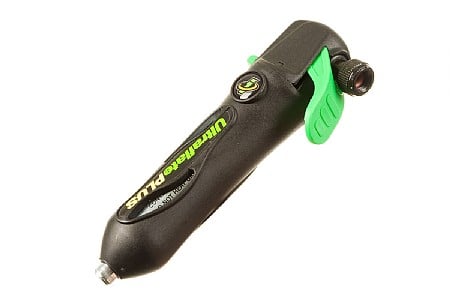
I bought a bike tire inflator (Genuine Innovations Ultraflate Plus CO2 Inflator) to provide a quick burst of air. Unlike Crescent Rose, Myrtenaster doesn't require much air, just enough to shoot out some glitter.
 |
| Image from: https://www.biketiresdirect.com/productimages/images450/gigup1-1.jpg |
 |
| Image from: http://www.sandefjordpaintball.no/images/16117-2.jpg |
The only place to store the inflator is in the handle. The batteries for the lights will also go there but that will be when I have the RGB LED circuit up and running properly. But first, the cylinder full of glitter has to be able to attach and detach from the handle. Twist some craft foam into the center to hold a rod of some sort.
Had an old LED flashlight lying around. Took it apart.
The flashlight cone piece works perfectly for the handle. I'll paint it later. It even fits one of the Vex gears I had lying around!
Fits nicely.
Glued the cone piece on the gear, cut a piece of cardboard paper roll tube, attached the bike inflator and the rest of the side guards to the cardboard piece.
Now to add the parts for the pneumatic system.
1/4" ID NPT clear tubing, 1/8" ID NTP clear tubing, brass tee fitting 1/8" NTP, Campbell Hausfield 1/8" NPT Tank valve, KQ2H07-35S, and KQ2H07-34S. Attach them to the tee fitting by applying teflon tape to the threads of the pieces and screwing them together. Like so.
Not pictured was attaching the blue tubing and the respective KQ2H07-35S part. The other wing guard of Myrtenaster was fitted on to open and close. Fins were fitted to spin the cylinder manually, no space for a motor powerful enough to spin it. Would have been heavy too.
Works as intended.
-solder electronics
-mount electronics
-create handle(handle not complete)
-prettify
part3


No comments:
Post a Comment